Wondering how to use wood veneer properly? Wood veneer is a remarkably flexible yet stylish choice for your project. You might be restoring old furniture or creating custom pieces with it; regardless of what you’re using it for, it’s important to know how to apply veneer correctly.
WoodenAve is your premium wood veneer supplier, and our experts have broken down a step-by-step guide for how to apply wood veneers.
Key Takeaways
- The application process involves cutting the veneer to size, applying adhesive, and using clamps or a veneer press for even adhesion.
- Different types of adhesive, like contact cement and wood glue, can be used.
- After applying veneer, trim excess veneer and sand the edges for a smooth finish.
- Common mistakes to avoid when applying veneer include using too much glue and not letting the veneer dry before applying pressure.
What are the Different Types of Wood Veneer?

Before we explore how to use veneer properly when you’re woodworking, let’s discuss the ins and outs of this material. Wood veneer is made up of thin layers of wood, usually 0.5 to 3 mm thick. The veneer and substrate are glued together with contact adhesive to create a stunning surface.
Veneer lets you use high-quality wood species at a much more affordable cost than solid wood. It allows you to make fine furniture with delicate grain patterns and finishes while maintaining structural integrity. Though there are many, here are the main types of wood veneer:
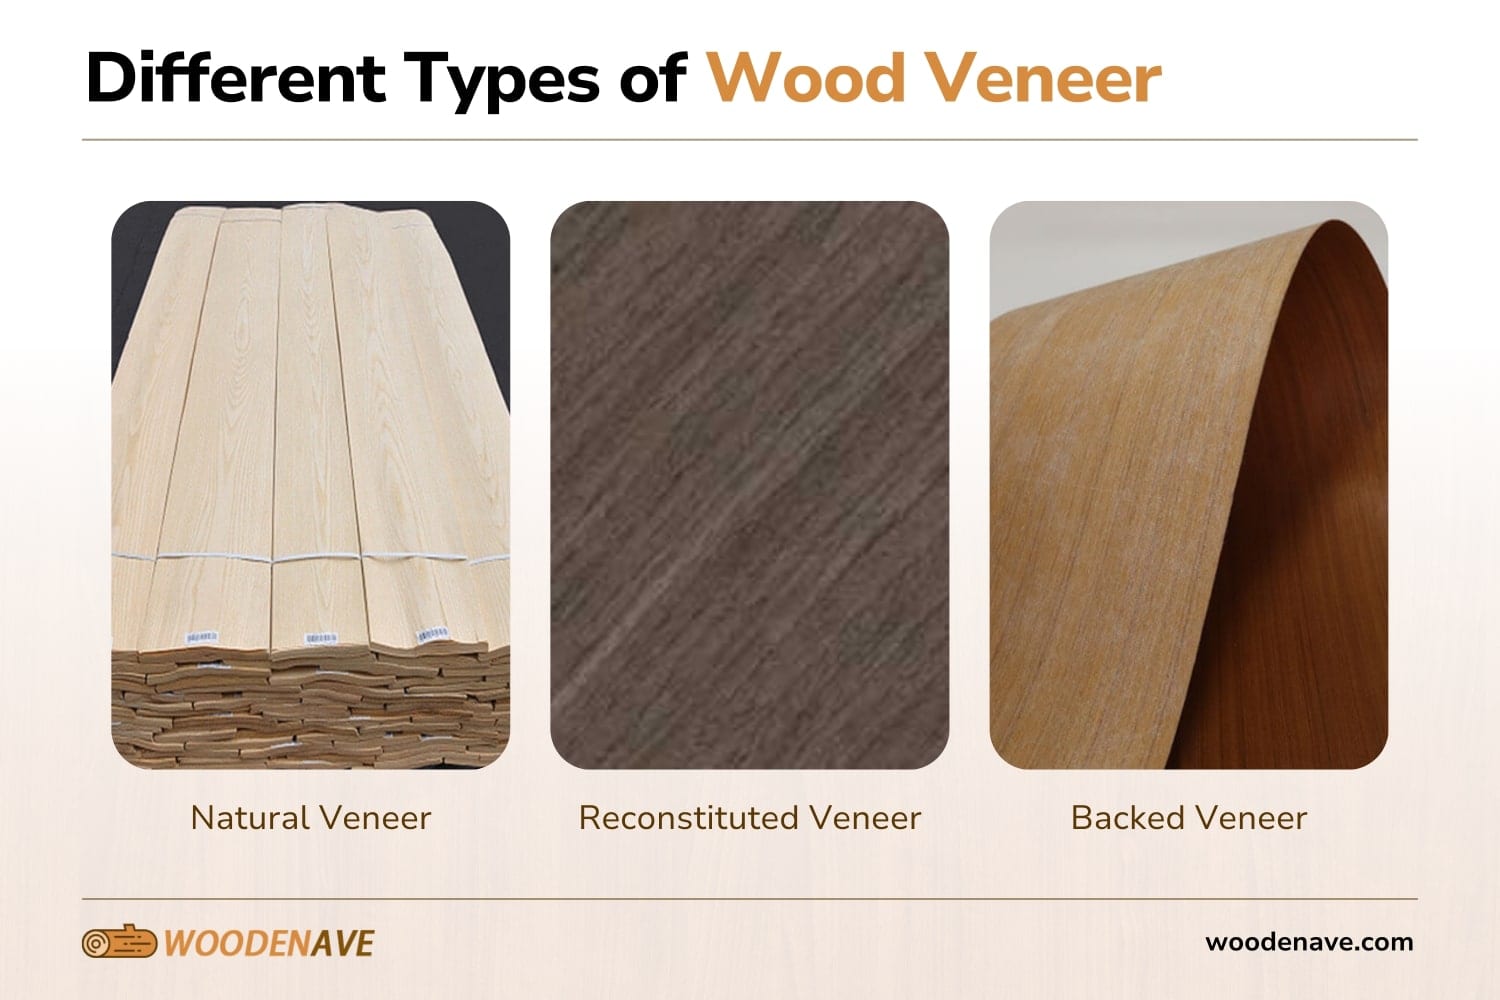
- Natural Veneer: This is when you slice and cut the veneer from real wood logs. Natural veneer has very special grain patterns and colors. Some common species are walnut, oak, and maple.
- Reconstituted Veneer: This is made from engineered wood fibers. Reconstituted veneer looks like natural wood, but it has more consistent patterns.
- Backed Veneer: This type has a backing material that gives you extra stability during application and helps prevent warping. There are two main types of wood back surfaces: paper backed veneer and fleece veneer back. Paper backed veneer is popular because it is super easy to handle.
What do I Need to Apply Wood Veneer?
Here are a few tools and materials you’ll need before you start applying wood veneer:
- Utility Knife: This is important for cutting the veneer to size. It will also help to trim the excess veneer.
- Straight Edge: This will help make sure that you have clean cuts when cutting the veneer.
- Glue Roller or Paintbrush: This will be used to apply your adhesive evenly on both the substrate and the veneer.
- Clamps or Veneer Press: These are used to apply even pressure while the adhesive cures.
- Adhesive: There are several types of adhesive you can use, though it’s popular to see woodworkers using contact cement like DAP Weldwood for instant bonding. You can also use wood glue for repositionable applications.
Preparation Steps
Now you’re ready to get started! Here’s how you prepare for the application process:
- Measure Your Workpiece: Accurately measure the dimensions of your substrate (such as plywood or MDF). This will ensure that you cut your veneer to size correctly.
- Cut the Veneer: Use a utility knife along a straight edge to cut your piece of veneer slightly larger than your substrate. This cut size of the veneer makes it easier to trim later. Try to aim for an overlap of about 1 inch (2.54 cm) on all sides.
- Number the Veneer Sheets: If you’re using multiple sheets of veneer, number them in a certain order to keep the same direction of the grain and grain alignment.
How to Apply Wood Veneer: Step-by-Step Guide

After your preparation, it’s time to begin the application process. Here is our step-by-step guide on how to apply wood veneer:
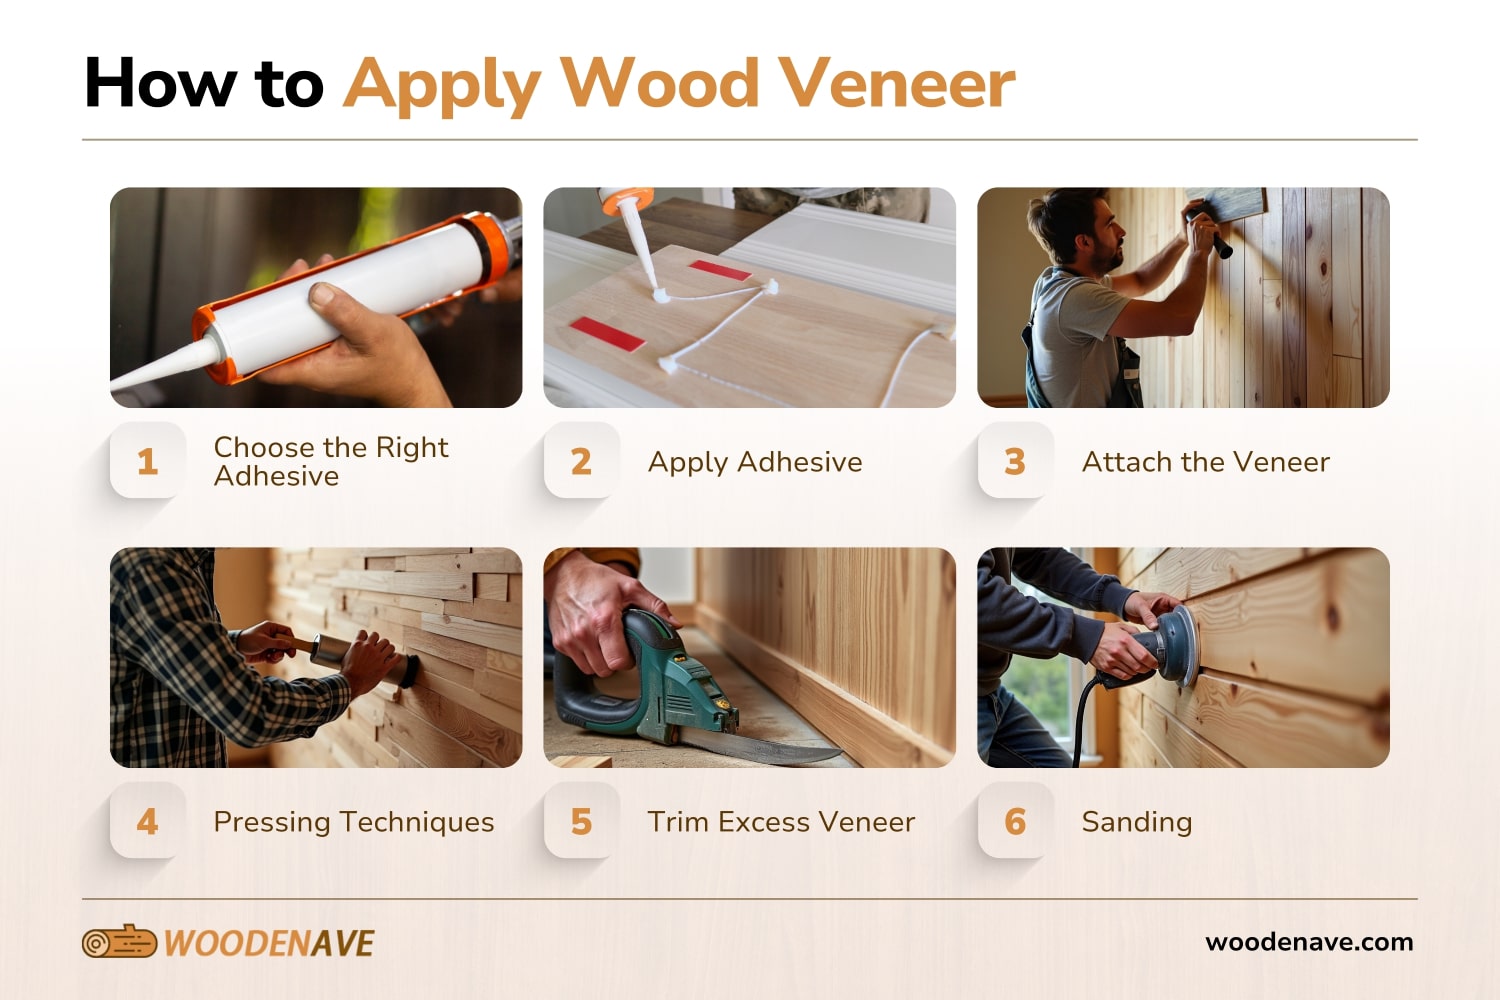
1. Choose the Right Adhesive
Bonding veneer with contact cement is great for permanent bonds. Notably, contact cement bonds immediately, so you will not be able to reposition. You’re going to want to apply it evenly on both surfaces and let the contact cement become tacky before joining them.
If you’re using wood glue, you’ll have more flexibility during positioning. However, this will require clamping for proper adhesion.
2. Apply Adhesive
For contact cement, use a roller or brush to coat both the back of the veneer and the surface of the substrate with a thin layer of glue. Make sure the veneer and the substrate are completely covered without excess that could create lumps.
For wood glue, apply a generous amount, but create a thin layer and apply it evenly to your workpiece.
3. Attach the Veneer
Gently lay the veneer in place on top of the substrate. Make sure it lines up properly with any pre-marked center lines. Press down firmly from the center outwards to get rid of any air bubbles.
4. Pressing Techniques
Use clamps, a caul (scrap wood), or a veneer press to hold everything in place while the adhesive cures. If you’re using clamps, cut a piece of waxed paper. Make sure it’s cut to satisfaction before sliding the waxed paper between the clamps and veneer to prevent sticking.
5. Trim Excess Veneer
After the adhesive has cured (this usually takes 4 to 6 hours), use a utility knife to trim the veneer excess. Get rid of any excess that extends over your substrate edges.
6. Sanding
Lightly sand any rough edges of your veneer with fine-grit sandpaper (around 220 grit sandpaper). This will give you a nice smooth surface and finish. Just be careful not to sand too aggressively on the surface of the veneer, because you might scratch it. After sanding, you should apply varnish or lacquer to to protect and enhance the veneer surface.
Common Mistakes to Watch out for
Whether you’re fixing up some furniture or making custom wood pieces, there are some accidents that can happen during the application process. Here are a few common mistakes to watch out for:
- Using Too Much Adhesive: If you apply your veneer with too much adhesive, it can cause lumps and bubbles under the surface of the veneer.
- Not Letting It Dry: You need to give your adhesive time to dry before you apply pressure, otherwise, this can cause shifting and misalignment.
- Forgetting Expansion and Contraction: If you don’t account for expansion and contraction, it can cause cracks in your finished piece!
WoodenAve: Expert Wood Veneer Suppliers
Applying wood veneer to your project is a great way to add some style to your finish. It certainly does look like solid wood, and it’s so much more affordable! If you’re still planning your project, check out WoodenAve’s collection of wood veneer! We can’t wait to supply you with the materials to bring your vision to life.
How hard is it to replace wood veneer?
It can be quite hard to replace wood veneer, depending on how damaged it is. You have to remove the old one, prepare the surface, and apply a new veneer. The removal process can be time-consuming, especially if the old veneer is stubbornly adhered to the substrate. Additionally, ensuring the new veneer is applied evenly without bubbles or wrinkles requires precision and patience.
How to apply wood veneer to curved surfaces?
You can apply wood veneer to a curved surface by using a flexible backing, similar to the shape of your curved surface. Be sure to use even pressure when you apply it by using clamps to hold the veneer in place. Heat can also help make the veneer more pliable, allowing it to conform to the curve more easily. To get a smooth finish, it’s important to trim any excess veneer after it’s securely applied.
What is usually under veneer?
A substrate is under veneer, such as plywood, MDF, or particle board. These materials are chosen because they provide a stable, flat surface for the veneer to adhere to. Depending on the project, higher-quality substrates are preferred for a more durable and refined finish.
Back to Top: How to Apply Wood Veneer

Leave A Comment