Do you have an annoying veneer bubble you’re trying to get rid of? We understand how frustrating this can be! Wood veneer is incredibly popular because it looks just like solid wood, it’s cost-effective, and it’s highly sophisticated. However, it can definitely be susceptible to bubbling or blistering sometimes.
The experienced team at WoodenAve has put together this guide on how to repair veneer bubbles with ease, so let’s get started!
Key Takeaways
- Veneer bubbles can be fixed by reactivating the glue with heat or injecting a new adhesive.
- Always clean the surfaces properly before re-gluing to make sure that there’s a strong bond. Remove old glue residue with a knife and cleaning agents.
- Use a damp cloth and an iron to flatten smaller bubbles, while larger blisters might need to be cut open to inject the glue before flattening.
- After repairs, clamp or weight the area to hold it in place until the glue dries completely, typically for 24 hours.
What Causes Bubbled Wood Veneer?

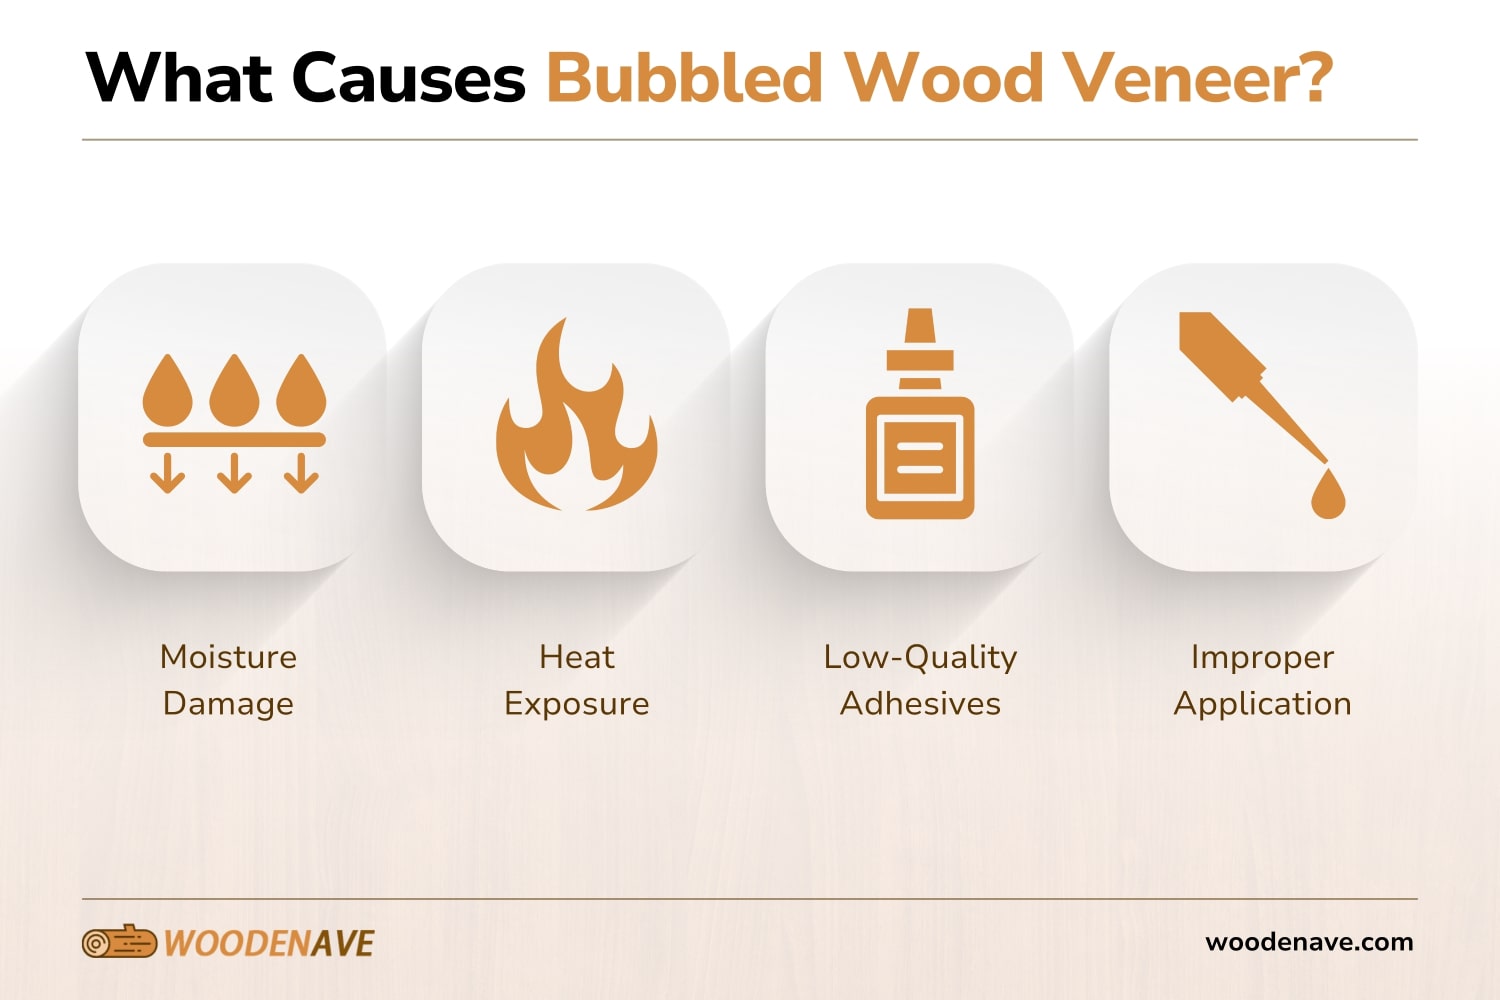
A bubbled veneer can happen for a variety of reasons, but most commonly because of trapped air or moisture. To get the bubble out takes some effort, but it’s completely worth it. Here are the most common causes of bubbled wood veneer:
- Moisture Damage: Too much humidity can lead to water damage, which causes the wood glue to weaken and bubbles to form.
- Heat Exposure: High temperatures can actually soften adhesives and excess glue, which leads to lifting or blistering.
- Low-Quality Adhesives: Using low-quality glue might cause problems with bonding. Always use glue that is well-known for its high quality to avoid this kind of bubbling!
- Improper Application: If you don’t install your veneer properly, this can also cause bubbling.
Now that you understand what might have caused your veneer to bubble, let’s get into what you need to fix those bubbles right up!
What do you need to Fix Water Damage Bubbles?
Here are the tools and materials you’ll need to repair the bubbled veneer properly:
- Utility knife or craft knife
- Iron or heat gun (if you’re going to repair veneer with iron)
- Clamps or weights
- Scraper
- Sandpaper (120 grit)
- Wood glue (like Titebond or Gorilla Wood Glue)
- Wax paper to protect surfaces
- Wood filler for larger repairs
- Stain (like a Mohawk medium brown wipe) for finishing touches
- Varnish or lacquer for sealing
How to Repair a Veneer with Bubbles: Step-by-Step Guide

It’s time to fix your veneer bubbles to get your piece of furniture looking as smooth and sleek as it was when it was built! Here’s our expert step-by-step guide on how to repair a veneer with bubbles:
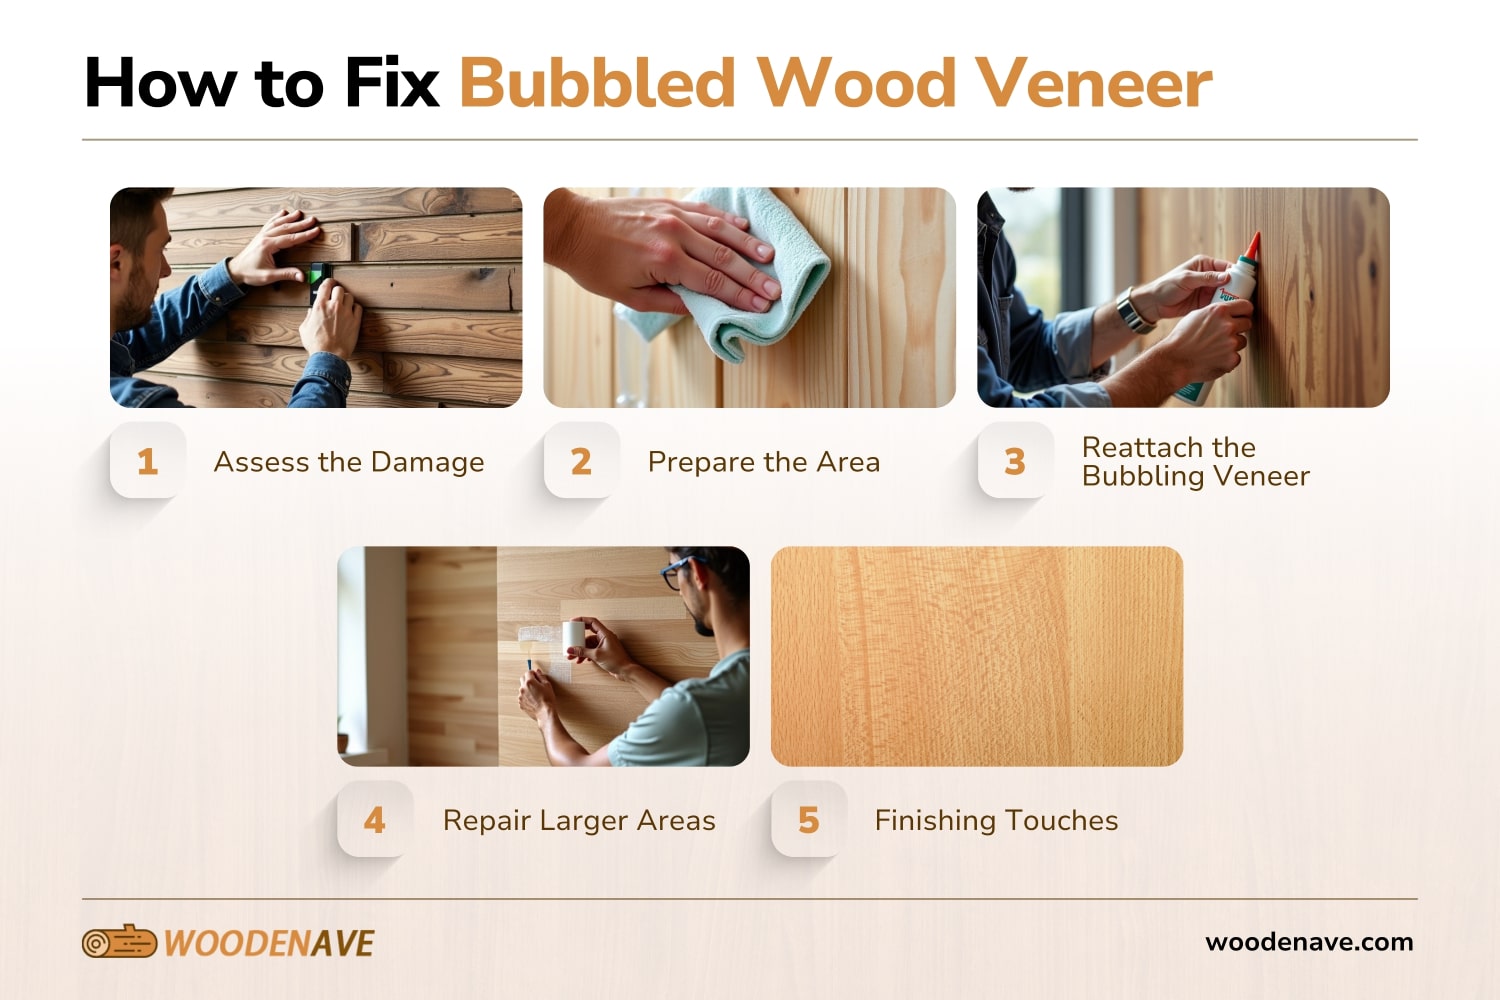
1. Assess the Damage
Start off by looking over the bubbled area carefully. Figure out whether the veneer can be repaired or if it needs to be replaced. If there are multiple bubbles or extensive damage, you might need to take more extreme measures than a basic repair job.
2. Prepare the Area
It’s time to prepare your veneer! Clean the surface around the bubble using a damp cloth. This ensures that any dirt or debris does not get in the way of the repair. Let it dry completely before moving on to the next step.
3. Reattach the Bubbling Veneer
If you’re using heat to reattach the bubbling veneer, start by putting a damp cloth on the bubble. Use an iron on low heat to soften the adhesive and move it slowly back and forth over the area. Press down gently on the surface along the grain over the bubble until the bubble flattens.
If you’re using adhesive instead of heat, you can inject wood glue underneath the veneer using a glue syringe. Apply glue in small amounts so that there isn’t a lot of excess squeeze-out. Press down firmly on the surface and clamp it until it’s dry. You may need to repeat steps 1 to 3 if you still see bubbles.
4. Repairing Larger Areas
For intense or severe damage, you might need to cut out the affected area. Use a knife to cut around the damaged section. Make sure you remove any loose veneer and clean up any old adhesive. Cut a matching piece of veneer next, and make sure it aligns with the grain of the surrounding wood. Then you can use wood glue to press it into place.
5. Finishing Touches
It’s time for the final touches! After everything is glued and dried (for around 24 hours), you can sand down the veneer with 120-grit sandpaper until it’s smooth. Stain with Mohawk medium brown wipe-on stain to match your piece of furniture. Finally, finish with lacquer or polyurethane for protection. And that’s the best way to fix bubble damage to veneer!
How to Prevent Bubbles on Veneer
After following this tutorial, you likely won’t want to go through this process again! Don’t worry, it’s quite easy to prevent bubbles from happening in the future. Here are a few tips from our expert team:
- Control the Humidity: Use dehumidifiers if your veneer is in humid areas to prevent bubbling
- Proper Ventilation: Make sure there’s good airflow around your wooden furniture
- Use Quality Materials: Use high-quality adhesive and veneer to prevent bubbles from forming
WoodenAve: High-Quality Wood Veneers
If you still see bubbles after you repair your piece of wood, it might be too late to fix it, unfortunately. Luckily, WoodenAve has a wide selection of wood veneers to replace your bubbled one. We are premium wood veneer suppliers dedicated to finishing off your project with style.
How to Fix Bubbled Wood Veneer FAQs
Can you fix water damaged veneer?
Yes, you can fix damage caused by water or water-based liquids if you remove the water quickly. This will stop it from sinking too far into the wood. A similar process is used to fix these water-based damages as you would for bubbles, involving careful drying and re-adhesion.
How to apply veneer without bubbles?
To make sure you avoid bubbles when you apply veneer, it’s best to use a vacuum bag for consistent pressure. Make sure the surface is clean and press down evenly with a roller from the center outwards. Working in a controlled environment with consistent temperature can also help prevent adhesive issues that cause bubbling.
Back to Top: How to Fix Bubbled Wood Veneer

Leave A Comment