If your veneer furniture or cabinetry is damaged, it’s certainly possible to repair it! Wood veneer is a thin layer of real wood sliced from logs, often used for decorative purposes.
Some common veneer damage issues are peeling, chipping, and water damage. Using the correct methods for cabinetry or furniture veneer repairs is extremely important, or you risk further damage. At WoodenAve, we know all the tips and tricks on how to fix damaged veneer products.
Let’s dive into the toolbox together!
Key Takeaways
- Prepare damaged veneer by removing damaged areas and cleaning it before doing any repairs.
- Wood glue or contact cement can reattach a lifted veneer.
- You can use wood filler to fix gaps, cracks, and chips in your veneer.
- Extensive damage may require professional repairs.
Prepare the Damaged Area
If you’ve got veneer on furniture that needs fixing, the first thing you need to do is prepare the damaged area.
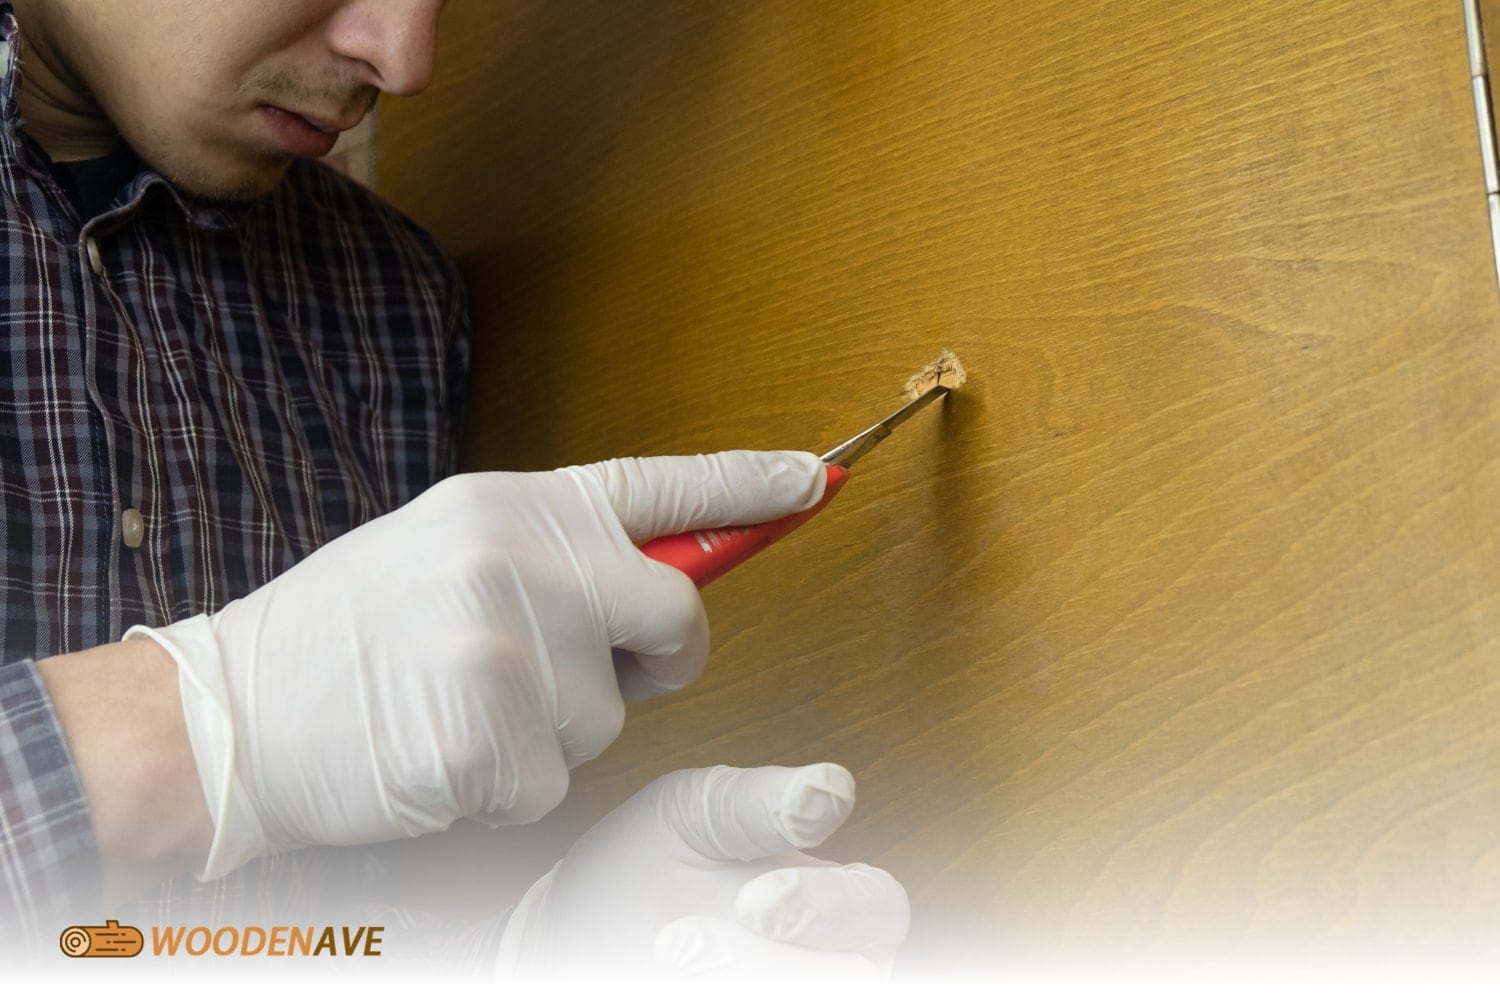
- Remove Loose or Damaged Veneer: The only way to repair the veneer is to remove the veneer first. You can use a hair dryer or heat gun to soften the adhesive. Then, carefully lift the veneer out with a putty knife. Make sure all loose edges are removed so you have a smooth surface to work on for repairs.
- Clean the Surface: Next, clean the surface of the veneer wood you’re fixing. Get rid of any dirt, dust, and residue with a clean cloth or sandpaper. Make sure the veneer is completely dry before you apply wood putty, wood filler, or adhesive.
Reattach Lifted Veneer

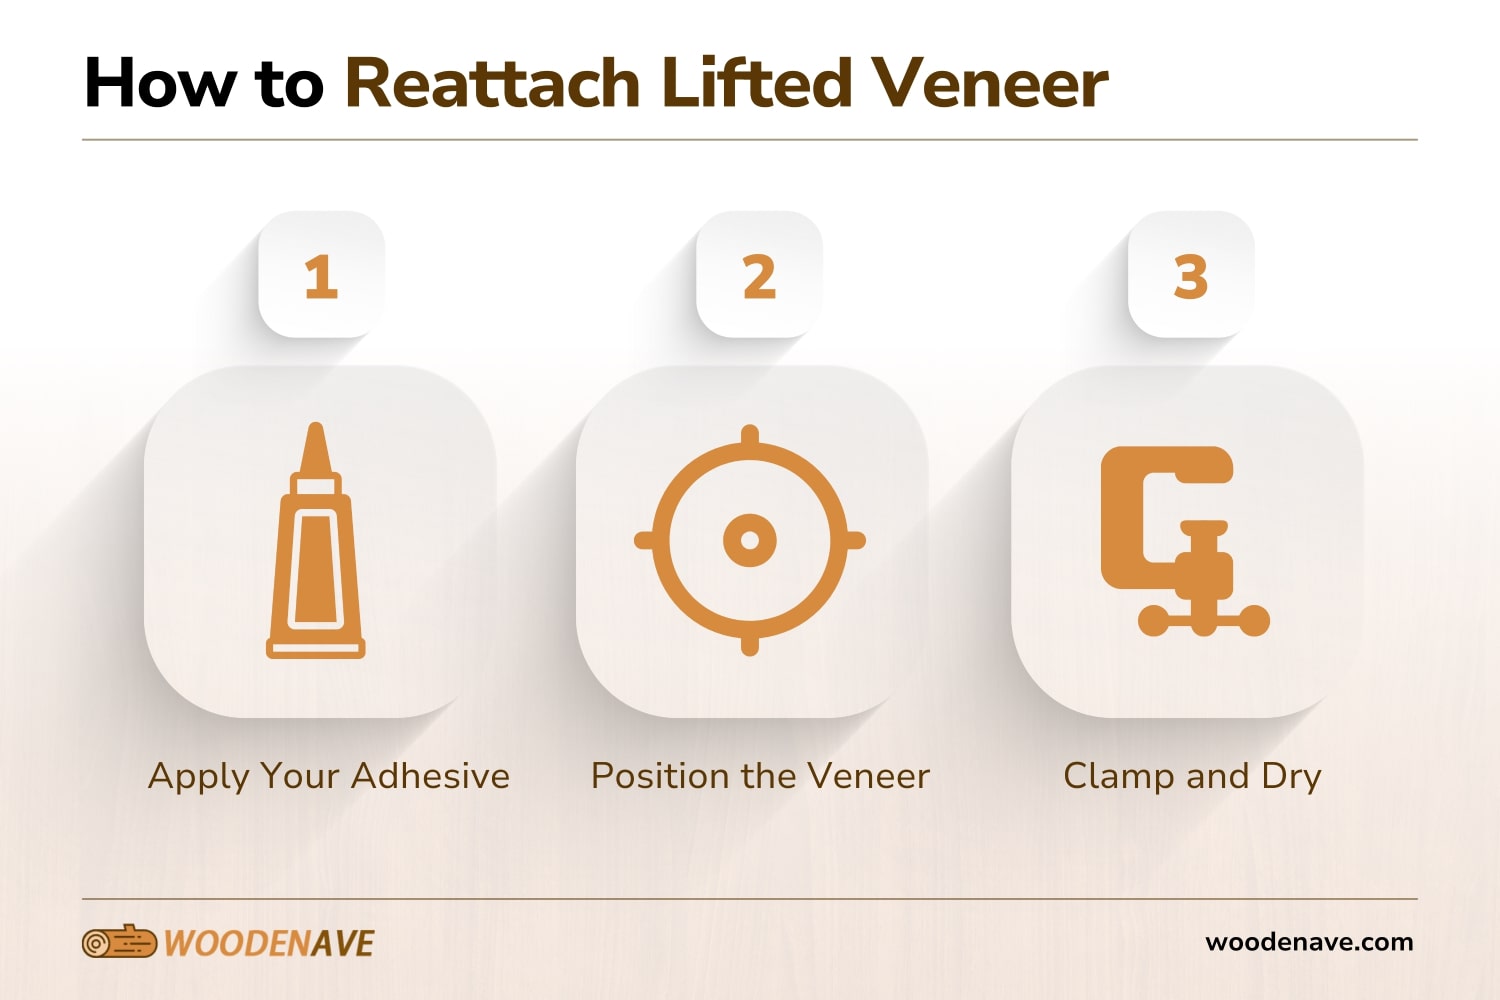
If you have a lifted veneer, you can reattach it and make it look like a brand-new veneer! Follow these step-by-step guidelines:
- Apply Your Adhesive: Use wood glue or contact cement that’s specifically designed for wood veneers. Apply a thin, even layer of the adhesive to both the exposed wood and the back of your veneer.
- Position the Veneer: Position your veneer so that it’s correctly aligned with the existing pattern, and then firmly press the veneer into place. Then, use a roller or even a block of wood to apply pressure and bond it properly.
- Clamp and Dry: A clamp or weight will work for this. Place a sheet of wax paper in between the clamps and the veneer so that they don’t stick together. Clamp your veneer using bar clamps or C-clamps. Follow the manufacturer’s recommended drying time for the adhesive, which is usually 24 hours.
Filling Gaps, Chips, and Cracks
Unfortunately, wood veneer can chip and crack easily if it’s not carefully looked after. However, it’s quite easy to repair chipped veneer. Here’s how you can fill those gaps with wood filler.
How to Use Wood Filler

If you have small gaps and cracks, wood filler is a great answer for how to fix chipped wood veneer. Get wood filler that matches the color of your existing veneer. Bondo Body Filler is often considered one of the best wood fillers for veneer repair.
Apply the filler with a putty knife or plastic scraper. Be extra careful in ensuring that it fills the entire gap. Let the filler dry before you sand.
When you’re ready to sand, use fine-grit sandpaper to smooth out the filled area and blend it to match the surrounding veneer.
After you’ve sanded, you can paint to match the existing finish. If you don’t want to paint, wood veneer is also stainable. You can use a stain to match the existing finish.
How to Replace Missing Veneer

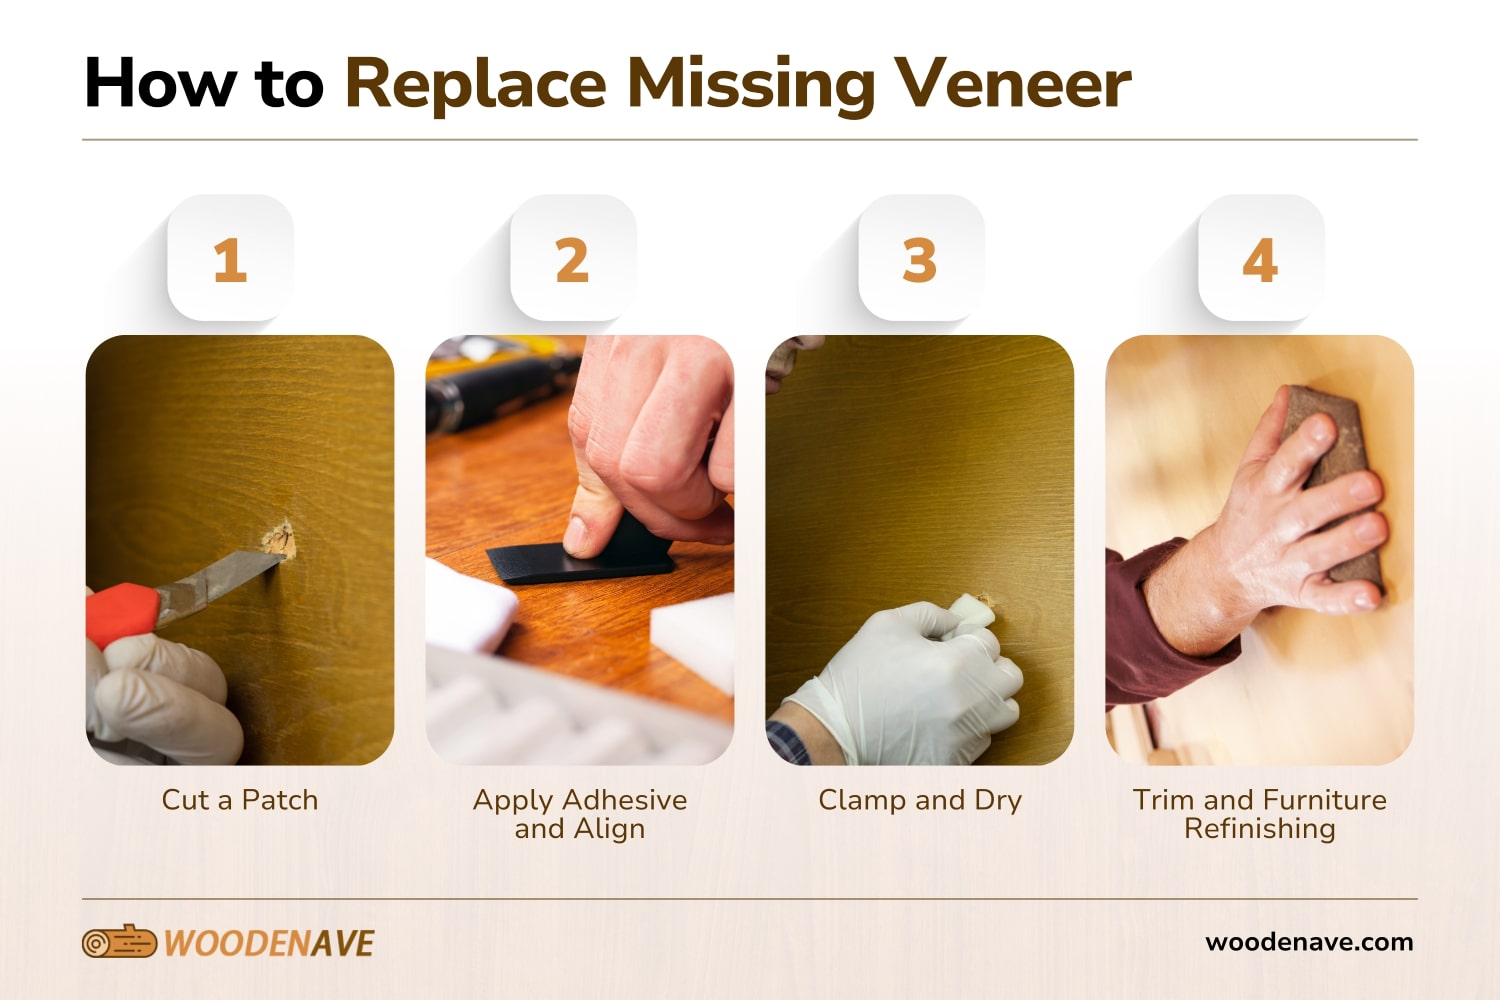
If you’ve got a broken or missing veneer, you’ll likely just need to bite the bullet and replace it. Here’s a step-by-step guide to get you started when your veneer is missing:
- Cut a Patch: Measure the area that’s been damaged and cut a new piece to replace it. Make sure your matching veneer replacement is slightly bigger than the hole before you repair furniture. Also, check that the grain direction of the patch matches the existing veneer.
- Apply Adhesive and Align: Apply adhesive to the back of the veneer and replace it. Do this by carefully positioning the patch over the hole that needs to be replaced and pressing it firmly into place.
- Clamp and Dry: Clamp your new patch until the adhesive is dry, which usually takes around 24 hours.
- Trim and Furniture Refinishing: Trim the excess of your new veneer patch until the veneer is flush with the surrounding surface. You can do this with a sharp knife, utility knife, or chisel. Make sure you sand until the entire area is smooth before you apply a stain or commence with furniture painting to match the rest.
Extensive Damage
Damages to your veneer can vary, but sometimes the damage is so extensive that it needs a professional touch or cannot be repaired at all. You might want to repair wood veneer yourself, but in certain cases, that can make it worse if you’re not an expert.
Wood Veneer Damages Requiring Professional Repairs
Here are a few instances where you might want to give your veneer over to a professional:
- Extreme Tears and Cracks: If the wood underneath or the veneer on the top has major tears and cracks that extend to the edges, it’s best to go with a professional fix. DIY fixes on these can result in further damage.
- Lifting from the edges: If you’re stuck with lifting and peeling veneer on the edges, it usually requires specialized techniques to reattach it without causing it to lift more.
- Discoloration: Uneven discoloration or staining caused by water damage or UV exposure can be incredibly difficult to fix yourself. This issue often requires professional refinishing.
The average cost to repair a damaged veneer is usually between $150 and $500, depending on the extent of the damage and the size of the piece. Veneer is often used in vintage furniture or decorative wood, which can vary in size. A small area of damaged veneer, such as part of a dresser, can take a professional up to four hours to fix, while larger repairs can take a full day.
Wood Veneer Damages That Cannot Be Repaired

Sometimes even a professional isn’t enough when it comes to repairing damaged veneer. Here are a few examples of veneer damages that usually cannot be repaired:
- Extensive delamination: If your veneer has completely separated from the substrate and there is no remaining adhesive or excess glue, it cannot be repaired.
- Severe warping and cupping: If your veneer has warped or cupped significantly due to water or moisture damage, it might not be possible to flatten again. Trying to repair this may risk damaging the veneer further.
- Missing veneer: If more than 25% of the surface of your veneer is missing, it won’t be very practical to patch the area. In this case, it might need to be completely refinished.
Sometimes, you just have to bite the bullet and get a new veneer. At WoodenAve, we have a wide variety of high-quality wood veneers for you to choose from.
Preventing Future Veneer Damage
Our team recommends these maintenance tips and tricks to prevent veneer damage:
- Don’t place hot or heavy objects on surfaces with wood veneer
- Clean your wood veneer regularly with a soft cloth and mild cleaning solution
- Polish the wood regularly to maintain the furniture finish
- Make sure your veneer is not exposed to too much moisture or humidity
- Use a dehumidifier or air conditioner when it’s humid to maintain a stable level of moisture in your environment
If you’re ready to spruce up your space with new wood veneers, don’t hesitate to get in touch with the professionals at WoodenAve.
How to Repair Wood Veneer FAQs
How do you repair water-damaged wood veneer?
You can repair veneer that’s been water-damaged by cleaning, removing white spots, buffing, and varnishing. Start by thoroughly cleaning the surface with a damp, soft cloth along the grain of your piece of veneer. Then, if there are any white spots, remove these by gently buffing the surface with a soft cloth and a stain remover, such as denatured alcohol.
Next, use your soft cloth and stain remover to swipe in quick, gentle strokes to remove the blushing on your veneer. Let it dry for 24 hours. After a day has passed, strip and sand your veneer and apply a waterproof varnish. Let your varnish cure for at least 2 to 3 days.
How to rehydrate wood veneer?
You can rehydrate wood veneer with a water spray gun. If your old furniture has gotten to the point where it’s beginning to warp, it’s time to rehydrate it. Spray a fine mist of water from a spray gun. If your veneer has become curled or is extra thick, let it soak in the spray water for a few minutes.
What is the alternative to contact cement for veneer?
Hot melt glue is a good alternative to using contact cement for veneer. It’s important to not use any water-based products, as this can cause your piece of furniture to warp. Hot melt glue bonds very well with veneer, though contact cement works faster.
Back to Top: How to Repair Wood Veneer
